UART… stare a potrzebne! Szczególnie w świecie DIY IOT!
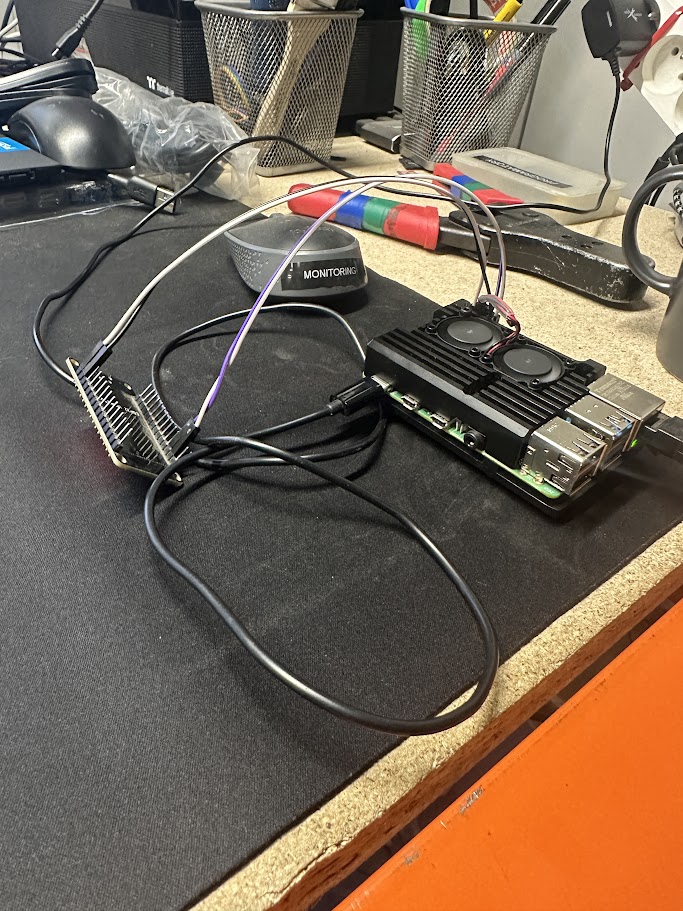
Mam kilka sztuk Raspberry Pi które bootują się po sieci. No i czasem im coś odbije a nie zawsze mam chęć biegać z konwerterem USB na UART żeby wpiąć się po kabelku.
Poniżej więc YAML do ESPHOME dla takich leniwych gości (i babek!) jak ja:
esphome:
  name: esp-uart-bridge-rpi
  friendly_name: esp-uart-bridge-rpi


  on_boot:
    priority: -100
    then:
      - text_sensor.template.publish:
          id: port_text
          state: "3000"
esp32:
  board: esp32dev
  framework:
    type: arduino
# Enable logging
logger:

# Enable Home Assistant API
api:
  password: ""

ota:
  password: ""
  platform: esphome

wifi:
  networks:
    - ssid: "podstawowe_ssid"
      password: "haslo"
    - ssid: "zapasowe_ssid"
      password: "haslo"

  # Enable fallback hotspot (captive portal) in case wifi connection fails
  ap:
    ssid: "Esp UART Bridge"
    password: "pass"

captive_portal:

web_server:
  port: 80
  version: 3

external_components:
  - source: github://oxan/esphome-stream-server


uart:
  id: uart_bus
  # add further configuration for the UART here
  tx_pin: GPIO1
  rx_pin: GPIO3
  baud_rate: 115200


stream_server:
   uart_id: uart_bus
   port: 3000

binary_sensor:
  - platform: stream_server
    connected:
      name: Connected

sensor:
  - platform: stream_server
    connection_count:
      name: Number of connections

text_sensor:
  - platform: version
    name: "ESPHome Version"

  - platform: template
    name: "Port"
    id: port_text
icon: mdi:lanOdpalacie sobie takie ESP32, wpinacie kabelki np. do RPI na stałe i od tego momentu żeby rzucić okiem na konsolę UART – wystarczy Putty na Windowsie (lub coś innego na innych systemach) i połączenie na port określony w konfiguracji YAML.
Dodaj komentarz